Hey everyone - I'm Karen from Renegade Homestead, checking in again. In my first post, I listed all the presents I'm planning for my friends and family this Christmas. Amongst my ideas were several books and journals that I'd like to make instead of buy. Just one minor set-back: I've never made a book before. I decided to do a test run by converting one of the million 2012 calendars that charities send out at this time of year into a hardcover monthly planner. Here's how I did it: Materials:Wall calendarScissorsGlue stickCorrugated cardboardWater activated paper packaging tapeClear packaging tape1) Start by cutting up a wall calendar into individual pages.
2) Fold each page in half so that the calendar part is on the inside and the picture is on the outside. Stack them in chronological order.
3) Glue the back right side of each page to the back left side of the next one. When you're done you should have something that looks like this:
4) Now it's time to start the cover. Cut three pieces of cardboard: one for the spine that is 0.5" x 8.75" and two for the covers (each 5.5" x 8.75"). Fold paper packaging tape over the edges to finish them as shown below.
5) Put the three pieces of the cover together to form a triangle (see photo below). While they're in this position, use a strip of clear packaging tape to connect them. I centered the strip on the spine and pressed it down on either side. It's important to do this step in this position to make sure the book opens and closes properly.
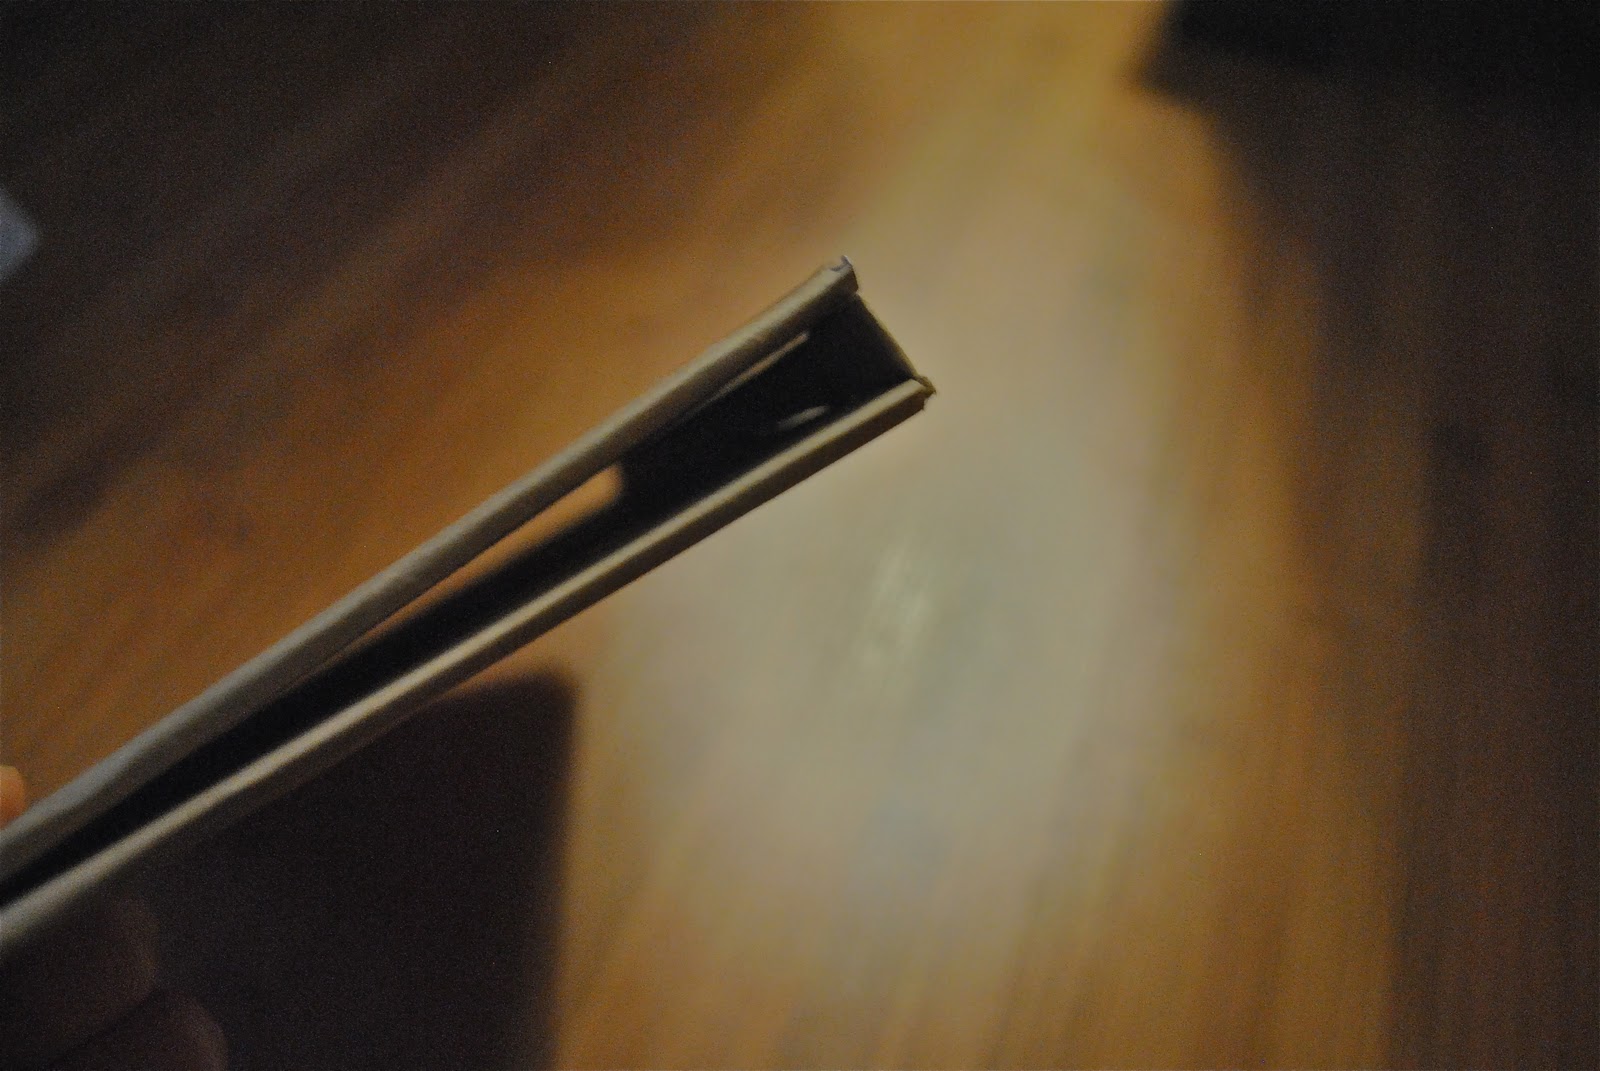
6) Open the covers so that the side with the clear packaging tape is facing down. Put a strip of paper packaging tape down the center of the spine to connect it again to the covers. Before activating it with water, I made two creases in the tape where the covers would bend. You can see the creases on either side of the spine in the photo below.
7) Time to add the pages that were put together earlier. Glue the back left side of the January page to the front cover. Open and close the book a few times to see where the back page should sit. Once you've found a good spot, glue the back right side of the December page to the back cover.
8) I used an extra page that was left over from the wall calendar to pretty up the cover a bit. Just make sure you glue it on while the book is closed.
And done! I'm glad I got this practice run in because I definitely see some room for improvement before I start on the real gifts - especially when it comes to tidying up the cover and improving the spine. But for now, I'm happy to have saved another wall calendar from the recycling bin!


No comments:
Post a Comment